Exporting your contacts from Zoho CRM to a .CSV file is an essential step to integrate your CRM data with popUP Email Automation. This process allows you to maintain accurate, up-to-date contact information and personalize your email outreach effectively. Here’s a clear, step-by-step guide to exporting your contacts from Zoho CRM to a .CSV file:
Step-by-Step Guide to Export Contacts from Zoho CRM
- Access the Setup Menu in Zoho CRM
- Log in to your Zoho CRM account.
- Navigate to the top-right corner of the dashboard and click on Setup (the gear icon).
- Go to the Data Export Section
- Scroll down to the Data Administration section within the Setup menu.
- Click on Export to access the data export options.
- Start the Export Process
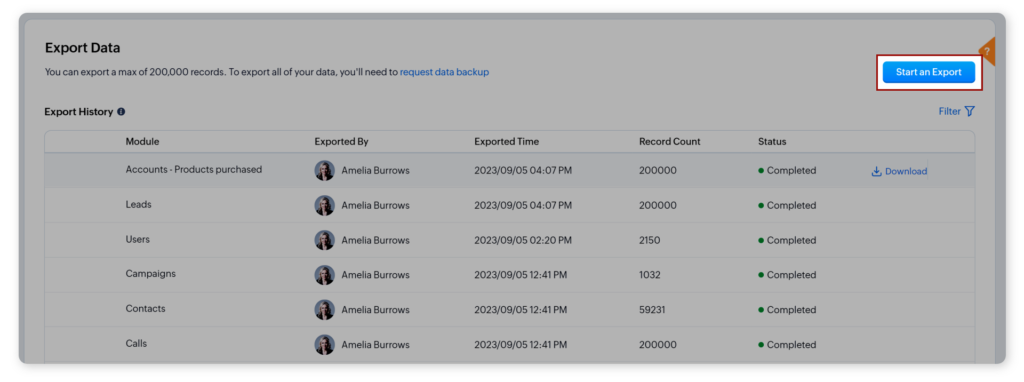
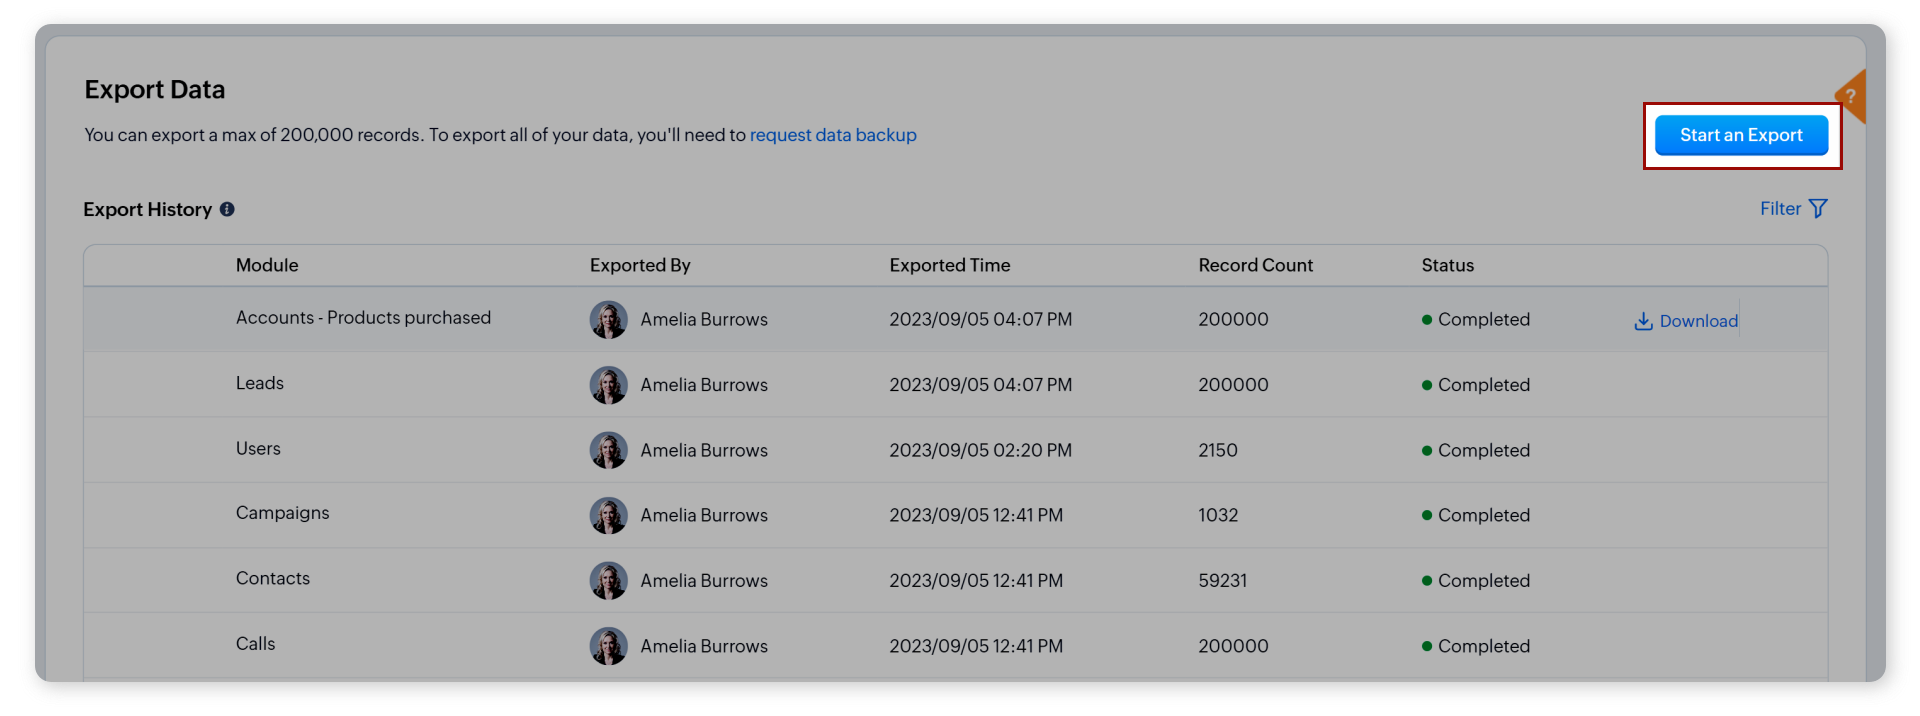
- On the Export Data page, click Start an Export to begin the process.

- Choose What to Export
- In the Export Data page that appears, you’ll need to make a few selections:
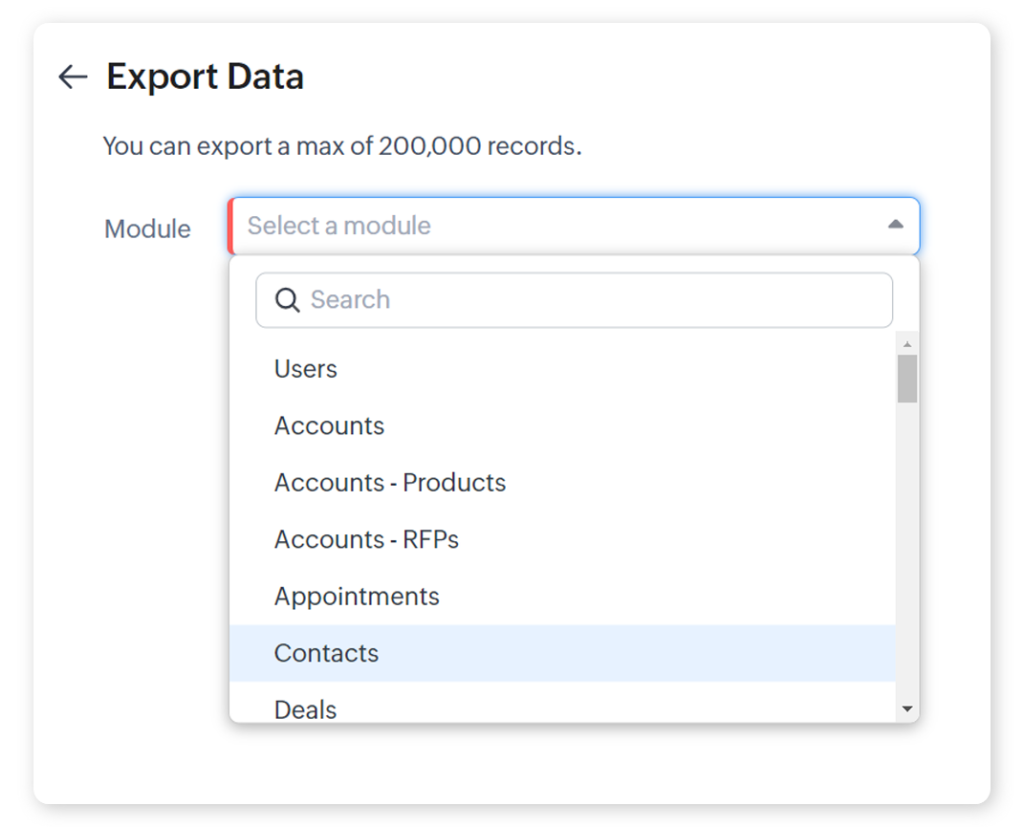
- Select a Module: Choose the module from which you want to export data, such as Contacts, Leads, or Notes, from the Module dropdown list.
- Select a View Option: From the Custom View dropdown, choose a standard List View, a custom List View, or export Based on Criteria. This option determines which subset of data within the module will be exported.
- Set Criteria for Subforms (Optional): If you select a subform from the Module dropdown, you can specify additional criteria for exporting data from that subform.
- In the Export Data page that appears, you’ll need to make a few selections:

- Choose Fields to Export
- Next, decide which fields to include in your export:
- Fields from Custom View: Export fields from the selected view. Note: This option isn’t available if you choose to export Based on Criteria.
- All Fields: Export all available fields within the selected module. You can also choose to exclude specific fields by clicking on Exclude Fields and selecting up to 20 fields you do not want to export.
- Choose Fields: Manually select which fields to export from the chosen module and any associated lookup modules.
- Next, decide which fields to include in your export:
- Initiate the Export
- After selecting the module, view, and fields, click on Export to start the export process.
- Monitor the Export Progress
- Your export request will now appear in the Export History table with the status marked as In Progress.
- Download the Exported .CSV File
- Once the status changes to Completed, hover over the export entry and click the Download link to save the .CSV file to your local device.
Final Steps: Import the .CSV File into popUP Email Automation
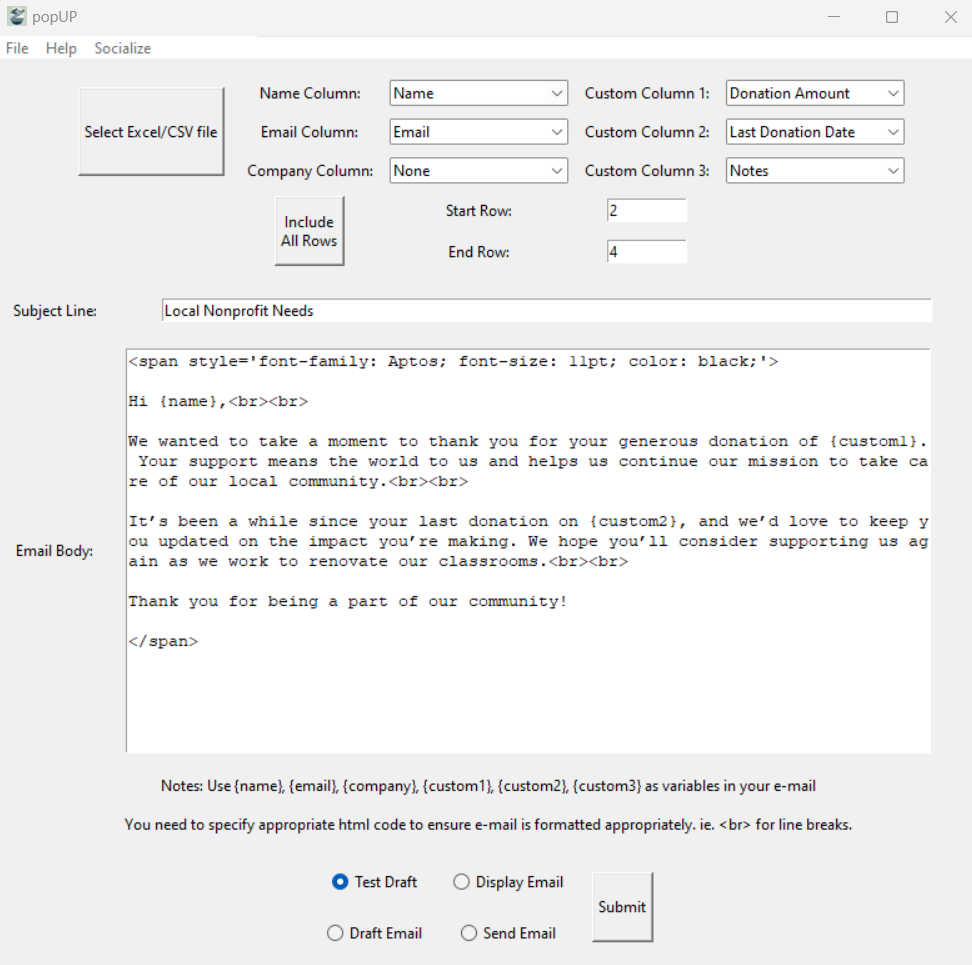
- Open popUP Email Automation: Log in to your popUP account.
- Go to Select Excel/CSV file: Navigate to the section for importing contacts.
- Upload the .CSV File: Select the .CSV file you exported from Zoho CRM.
- Map the Fields: Ensure all fields from Zoho CRM correspond to the fields in popUP Email Automation.
- Start Using Your Contacts: Begin creating personalized email campaigns to engage with your newly imported contacts.

Conclusion
Exporting contacts from Zoho CRM to a .CSV file is a straightforward process that allows you to leverage your CRM data for more effective email marketing with popUP Email Automation. By following these steps, you can streamline your outreach and make the most of your customer relationships.
Ready to boost your email marketing efficiency? Try popUP Email Automation for free for 30 days!

